
Settings
Open Settings from the menu-bar icon. Settings are grouped into tabs down the left side: General, Capture, Recording, On-Device AI, Shortcuts, Permissions, License, Privacy & Security, and About. Most tabs have a Reset for their own options, and General adds a Reset All.
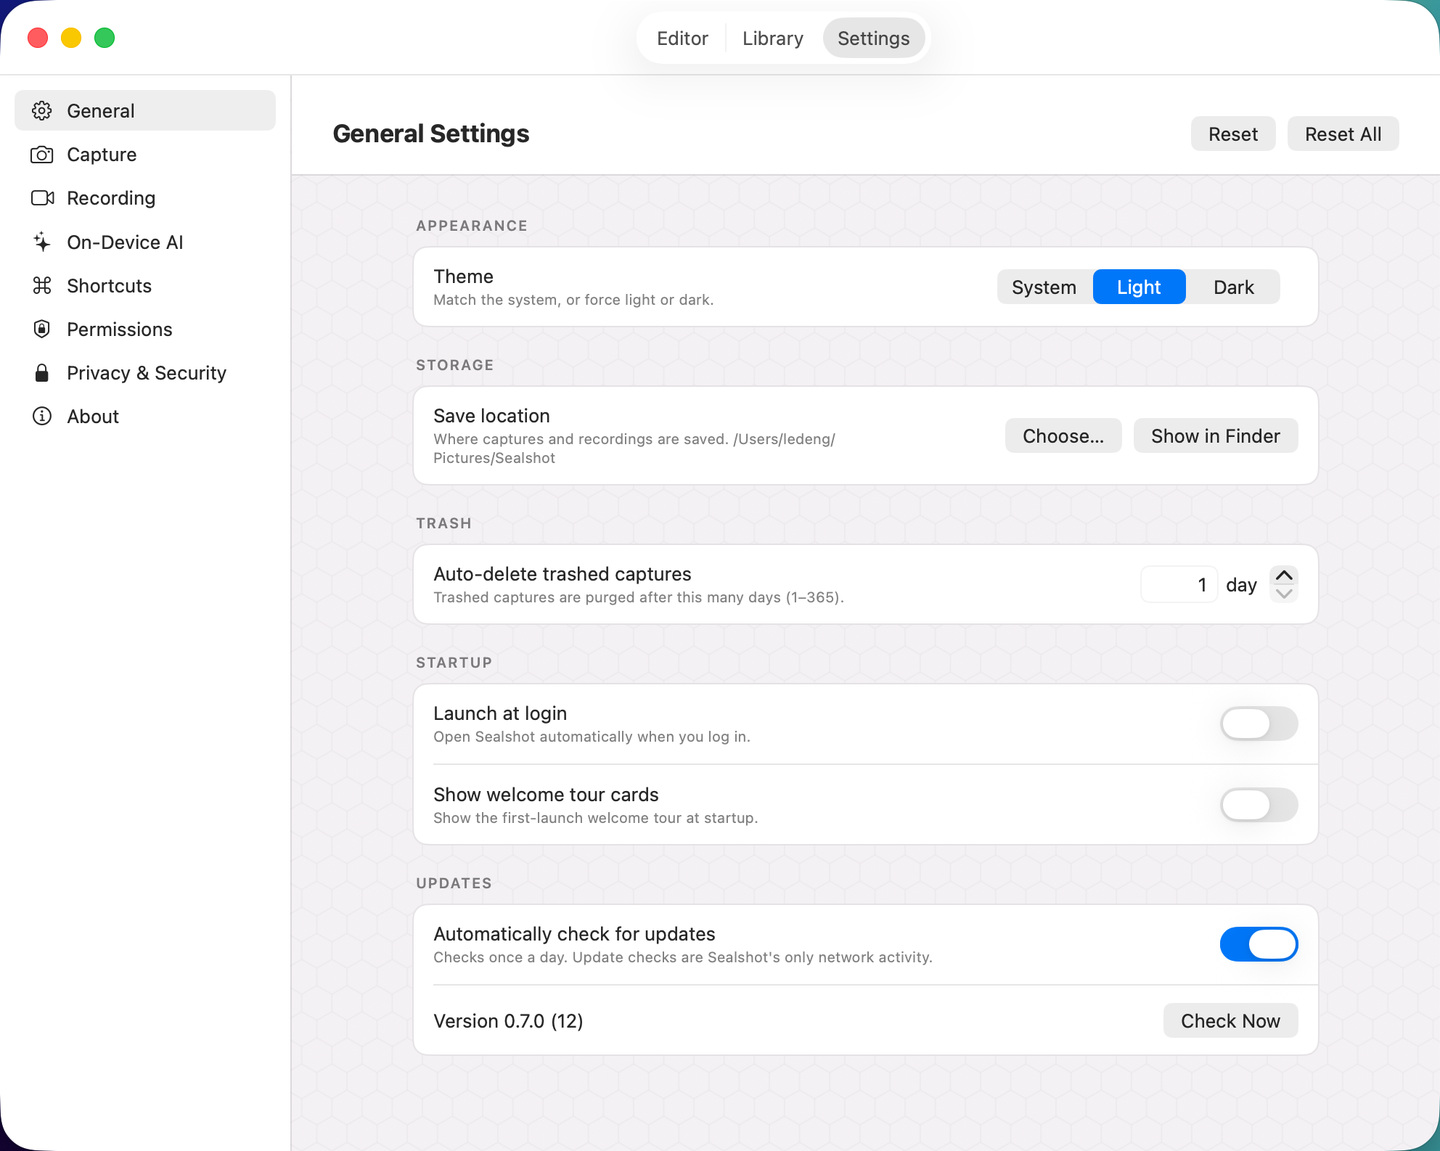 The General tab of Settings.
General
Section titled “General”- Theme — match the System theme, or force Light or Dark.
- Save location — where captures and recordings are saved (default
~/Pictures/Sealshot). Changing it switches libraries: the editor and Library show the new folder’s captures, and your existing captures stay where they were. - Auto-delete trashed captures — trashed captures are purged after this many days (1–365; default 7).
- Launch at login — open Sealshot automatically when you log in.
- Show welcome tour cards — show the first-launch tour at startup; the Show Now button replays it immediately without changing the setting.
- Automatically check for updates — once a day. This also controls the revocation check: on launch Sealshot downloads a small public list of licenses that have been revoked (after a refund, for example) and checks it on your Mac. Turning this off stops both.
Capture
Section titled “Capture”- Default destination — where a finished capture goes: Clipboard, File, or Both (default Both). Clipboard-only skips the editor entirely.
- Filename format — the pattern for saved files, with a live example; the app and window name are added automatically.
- Include title & app in filename — name captures “App Title date” instead of date-only. The filename then reveals the capture’s title and source app — turn it off if that’s sensitive. Enabling Enhanced Security turns it off by default.
- Auto-scroll — during a scrolling capture, Sealshot scrolls the page for you and stops at the end; requires Accessibility permission. With it off, you scroll yourself and press Return to finish.
Recording
Section titled “Recording”- Format — the container and codec for screen recordings: HEVC (.mov) or H.264 (.mp4).
- Frame rate — 30 or 60 frames per second.
- Capture system audio — record the audio your Mac plays.
- Capture microphone — mix your voice into the recording; requires Microphone permission.
- Reduce microphone noise — suppress background noise and level your voice while recording, processed on your Mac.
- Show cursor — include the pointer in recordings.
- Ask before each recording — show a confirmation when a recording starts, where you can adjust audio, cursor, and the countdown for just that recording.
A status row notes that when Enhanced Security is on, recordings are encrypted at rest and play back only after unlock. See Screen recording.
On-Device AI
Section titled “On-Device AI”- Use on-device AI — the master switch. Auto-generates titles, keywords, and summaries, and helps Smart Redaction catch sensitive info the rules miss — Apple Intelligence on supported Macs, a built-in fallback elsewhere, all on your Mac. Tags you add yourself stay editable either way. A status row below explains whether the Apple Intelligence half is running on this Mac, and why not if it isn’t.
- Scan captures automatically — check every image for emails, phone numbers, credit cards, and API keys the moment it opens, and propose redactions.
- Thorough scan — also use Apple Intelligence to catch sensitive items the detectors miss; slower. Requires macOS 26 and Apple silicon, and only appears while the master switch is on.
- The optional ~400 MB enhanced redaction model downloads from here too — see Smart Redaction.
See On-device AI for what each feature does.
Shortcuts
Section titled “Shortcuts”Global shortcuts for every capture, recording, and app command, grouped into Capture / Recording / App cards. Each has a default you can rebind or clear; combos already assigned to another action are rejected. See Keyboard shortcuts.
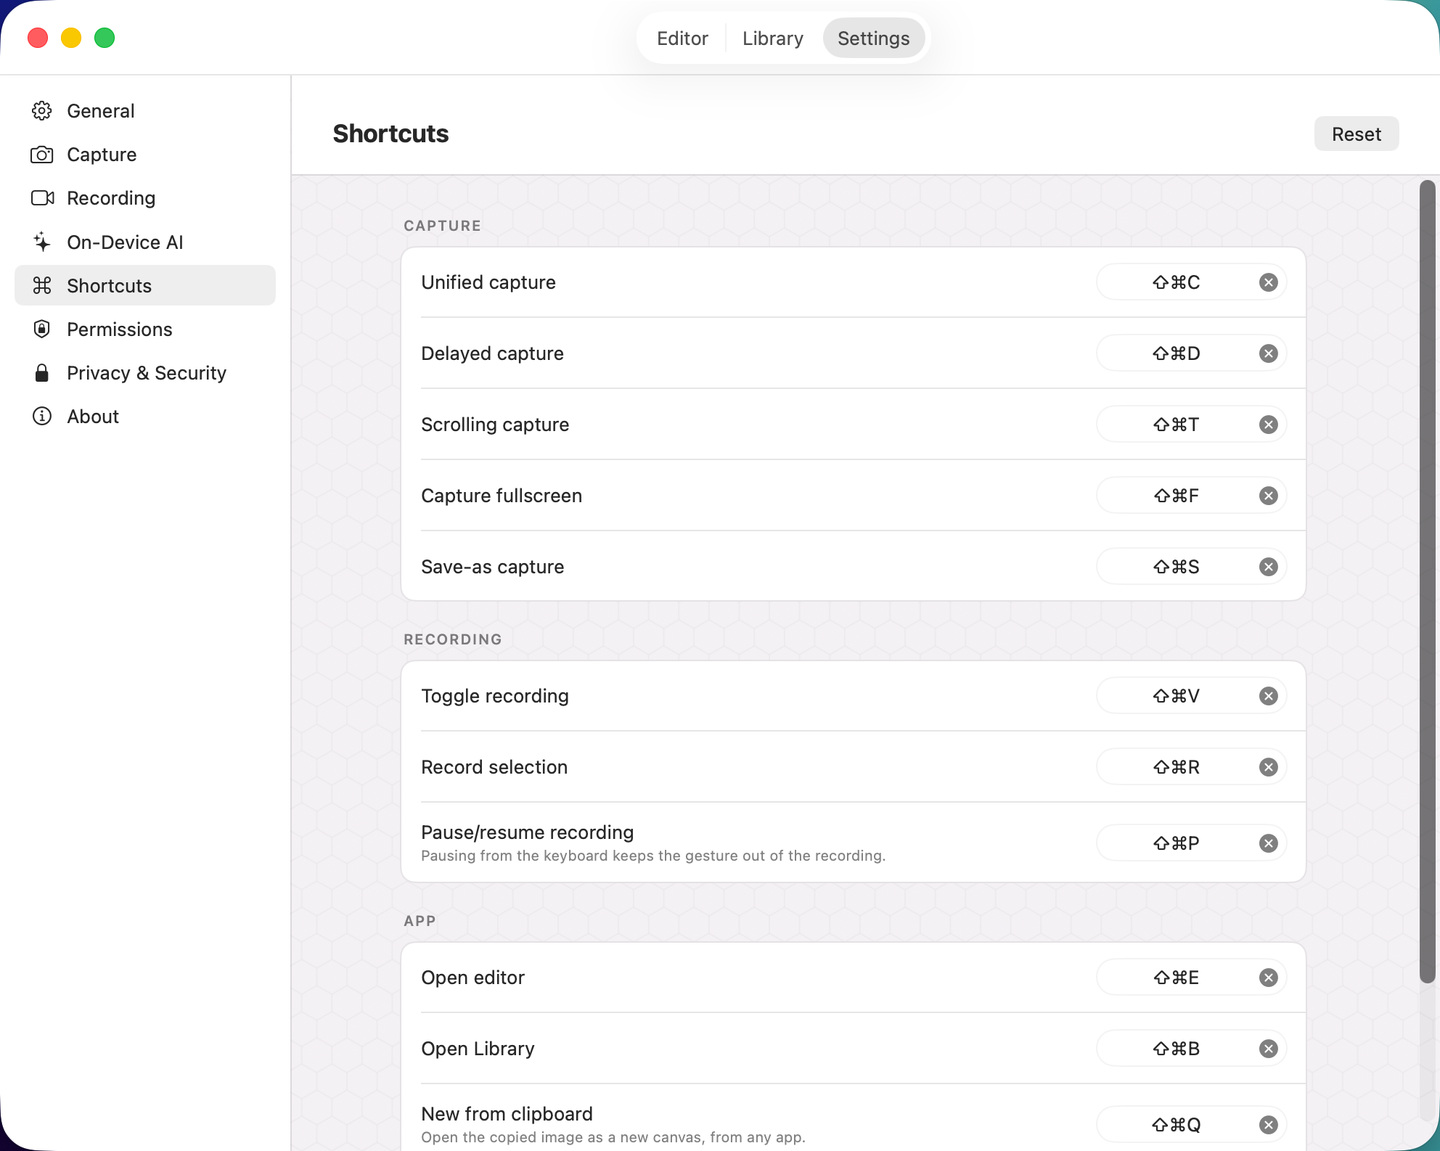 Record a shortcut for each command.
Permissions
Section titled “Permissions”A live status list for the permissions Sealshot can use — Screen Recording (required to capture), Microphone (only if you record your voice), and Accessibility (auto-scroll) — each with a button to the right System Settings pane.
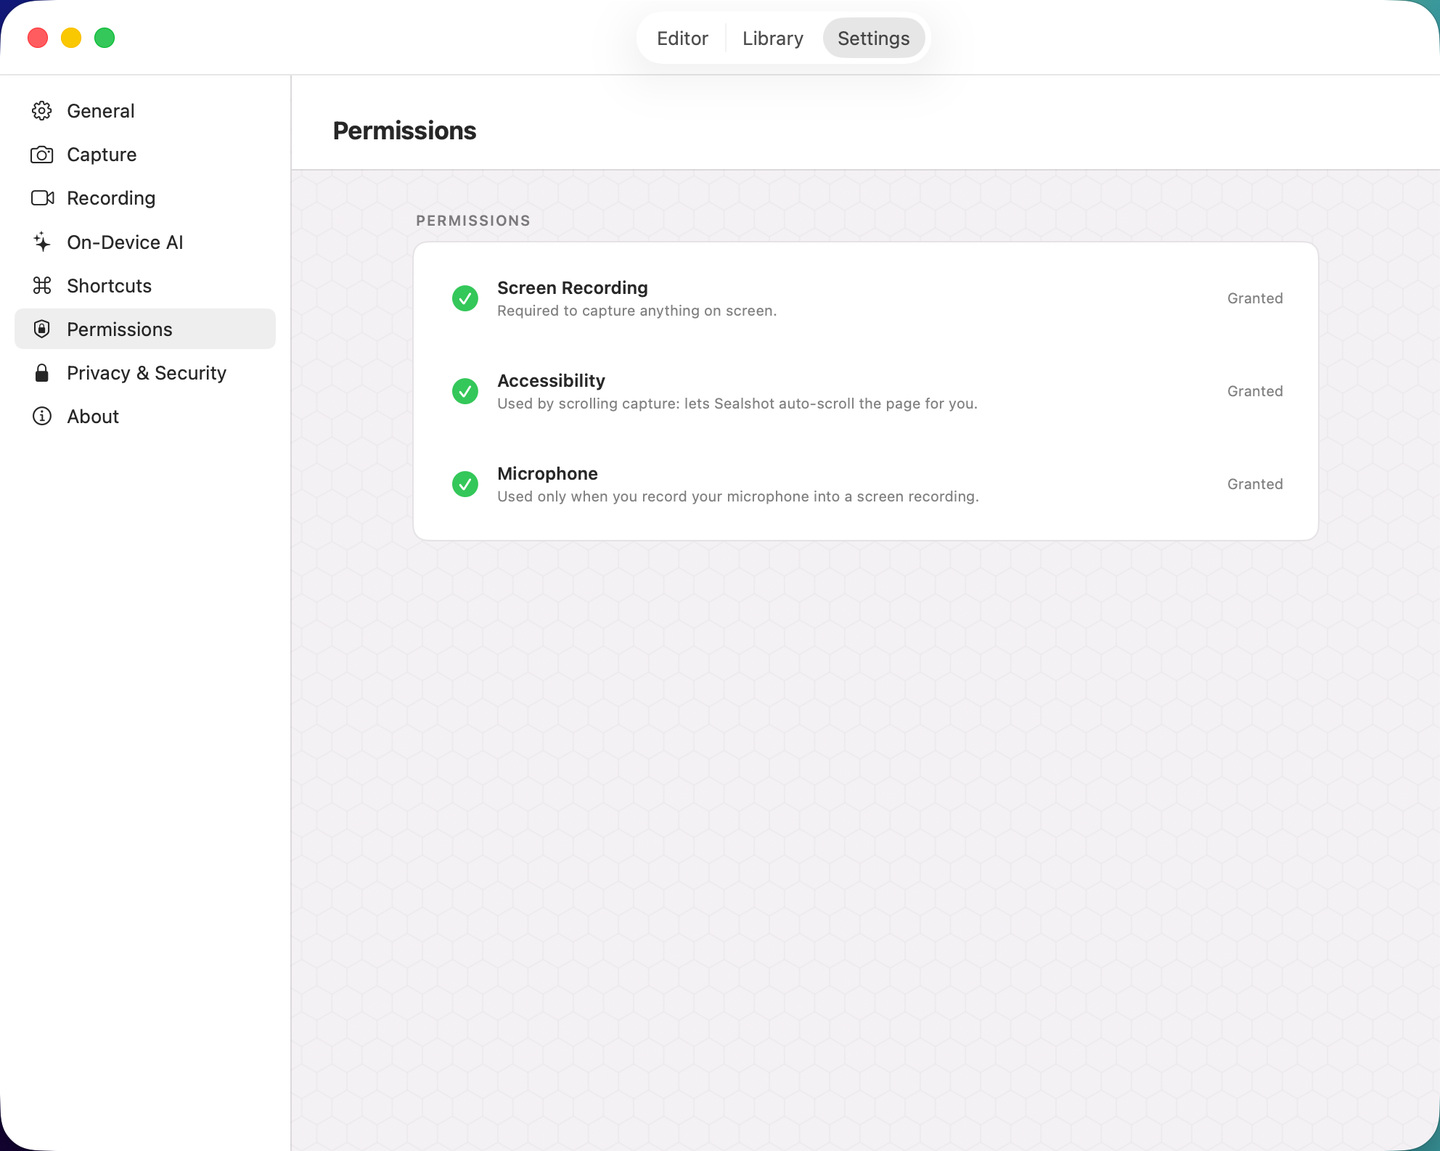 Check and grant permissions from one place.
Support
Section titled “Support”Sealshot is donation-supported, and this tab is the whole of it:
- Donate… opens the donation page — any amount, once.
- “I’ve donated — stop the occasional reminder” is the honor system in one checkbox. Tick it after donating and the reminder never returns; nothing verifies it, and unticking it brings the ask back.
- If you bought a license before Sealshot became donation-supported, this tab shows it as your supporter license with your name — it keeps working forever, there is nothing to activate or renew, and on a new Mac the checkbox does the same job as the file.
Privacy & Security
Section titled “Privacy & Security”- Enhanced security — encrypts everything Sealshot stores on this Mac and locks viewing behind Touch ID.
- Lock when Sealshot starts — appears once Enhanced Security is on, and starts out on. Leave it on and Sealshot asks for Touch ID every time it opens. Turn it off and Sealshot opens ready to use — your captures are still encrypted on disk, but anyone using this Mac can open Sealshot and view them, so you’re asked to confirm before it takes effect. Turning Enhanced Security off and on again puts it back on.
- Recovery code — View… your recovery code, or Generate New… (the old one stops working).
- Replace encryption key — rotate to a brand-new key if you think the old key or recovery code was exposed. Your captures stay readable; the old key and recovery code stop working.
- Auto-lock when idle — lock automatically after a period of inactivity: Off, 1, 5, or 15 minutes.
- Locked Archive — appears only if you ever reset encryption after losing your recovery code; its Restore… button brings those captures back once the code turns up.
While Enhanced Security is on, this tab itself requires Touch ID or your password to open. See Enhanced Security.
Your version, and a Send Feedback… button that opens a pre-filled email to the developer. See Support & feedback.