
Library & search
The Library is home to every capture and recording. It indexes your save folder locally, so browsing, searching, and thumbnails are fast — and entirely on device.
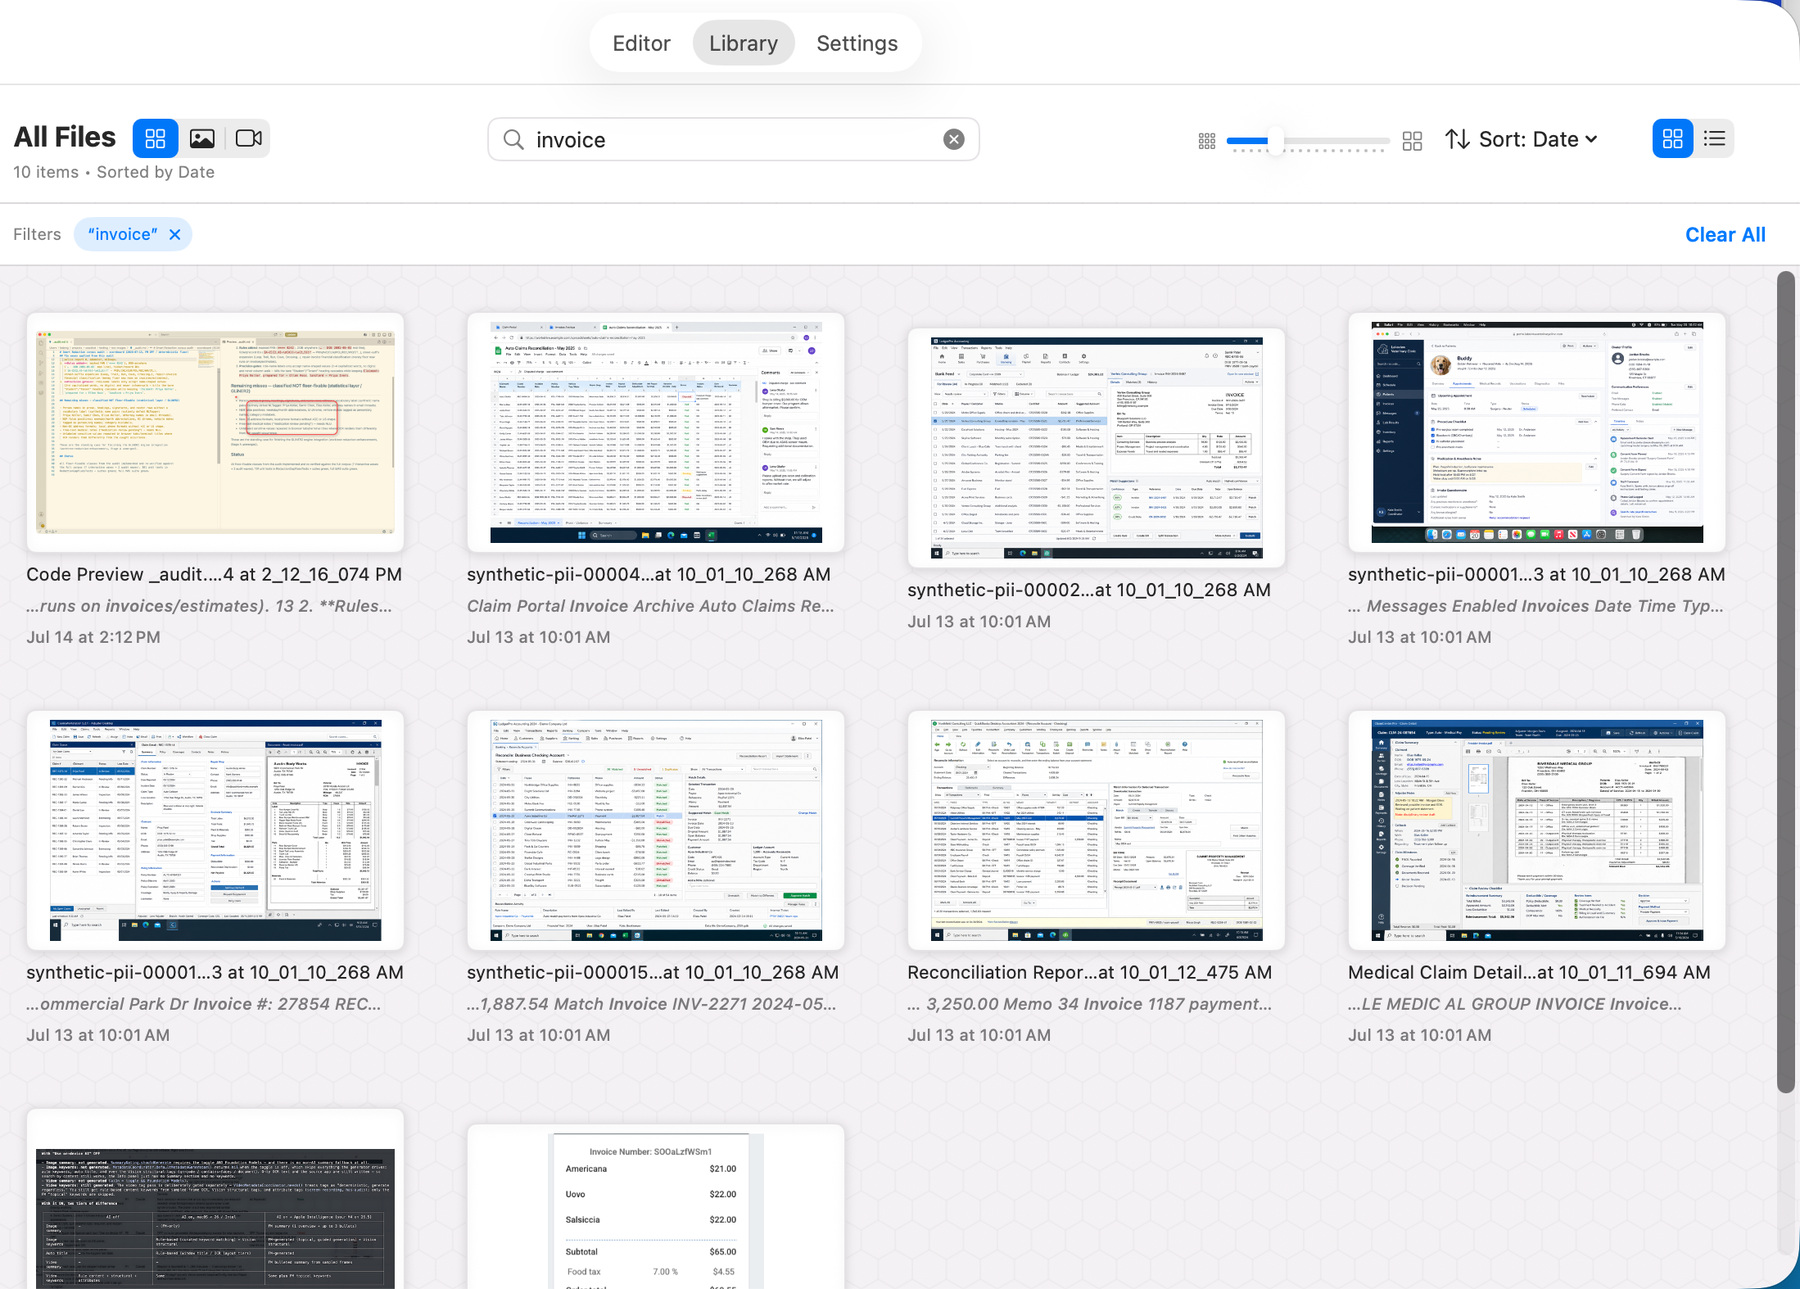 The Library in grid view. Switch to list view from the toolbar.
Sections and filters
Section titled “Sections and filters”The sidebar organizes everything:
- All Files — every capture and recording, newest first.
- Recents — items from the last 7 days.
- Collections — your collections, with Favorites pinned on top.
- Trash — deleted items awaiting restore or permanent removal.
Below the sections, filter by tag or by date (year/month), and use the media filter to show all items, images, or videos only.
Scratch
Section titled “Scratch”Not every capture is worth keeping. Settings → Capture → Add captures to Library is on by default; turn it off and captures behave exactly as before — they open in the editor and copy to the clipboard — but your Library stays untouched. Good for a session of throwaway shots you only mean to paste somewhere.
They are not gone in the meantime. A Scratch section appears in the Library sidebar, above Trash, whenever unkept captures exist, with the same actions as the rest of the Library: preview, export, duplicate, rename, delete. Unkept captures are deleted after 7 days, and the sidebar row shows how much space they are using — as do All Files and Trash — so the sweep is never a surprise.
Keep one with Add to Library in its right-click menu. Marking a capture as a favourite or putting it in a collection files it into the Library first, since an unkept capture would otherwise be swept up by the clean-up.
Settings → Recording → Add recordings to Library is the same switch for recordings, deliberately separate: an unkept recording is gigabytes where an unkept screenshot is kilobytes, and a scratch pile of one is not necessarily a scratch pile of the other.
With Enhanced Security on, unkept captures are encrypted exactly like the rest — waiting in Scratch is not a way out of encryption.
Collections and favorites
Section titled “Collections and favorites”Group captures into collections — create one from the sidebar or select captures and choose New Collection… from the right-click menu; rename and delete from the sidebar. A capture can live in any number of collections.
Click the star on any capture (or in its Info panel) to add it to Favorites.
Preview
Section titled “Preview”Press Space on any selected item for an instant floating preview — no need to open the editor. Resize it with the −/+ buttons on the card or with ⌘-scroll; videos play right in the preview. Press Space again (or open the item) to dismiss.
Grid and list views
Section titled “Grid and list views”Switch between a thumbnail grid and a detailed list — a sortable table with app, dimensions, file size, date, and favorite columns, grouped by date. Resize grid tiles with ⌘-scroll over the grid or the slider in the footer.
Selecting captures
Section titled “Selecting captures”- Click a capture to select it; double-click to open it.
- ⌘-click to add or remove individual captures.
- ⇧-click to select a range.
- Drag across empty space to draw a selection rectangle (marquee) — every capture the rectangle touches is selected. Hold ⌘ or ⇧ while dragging to add to the current selection. Marquee works in the grid and in the recent strip.
- Click empty space to clear the selection.
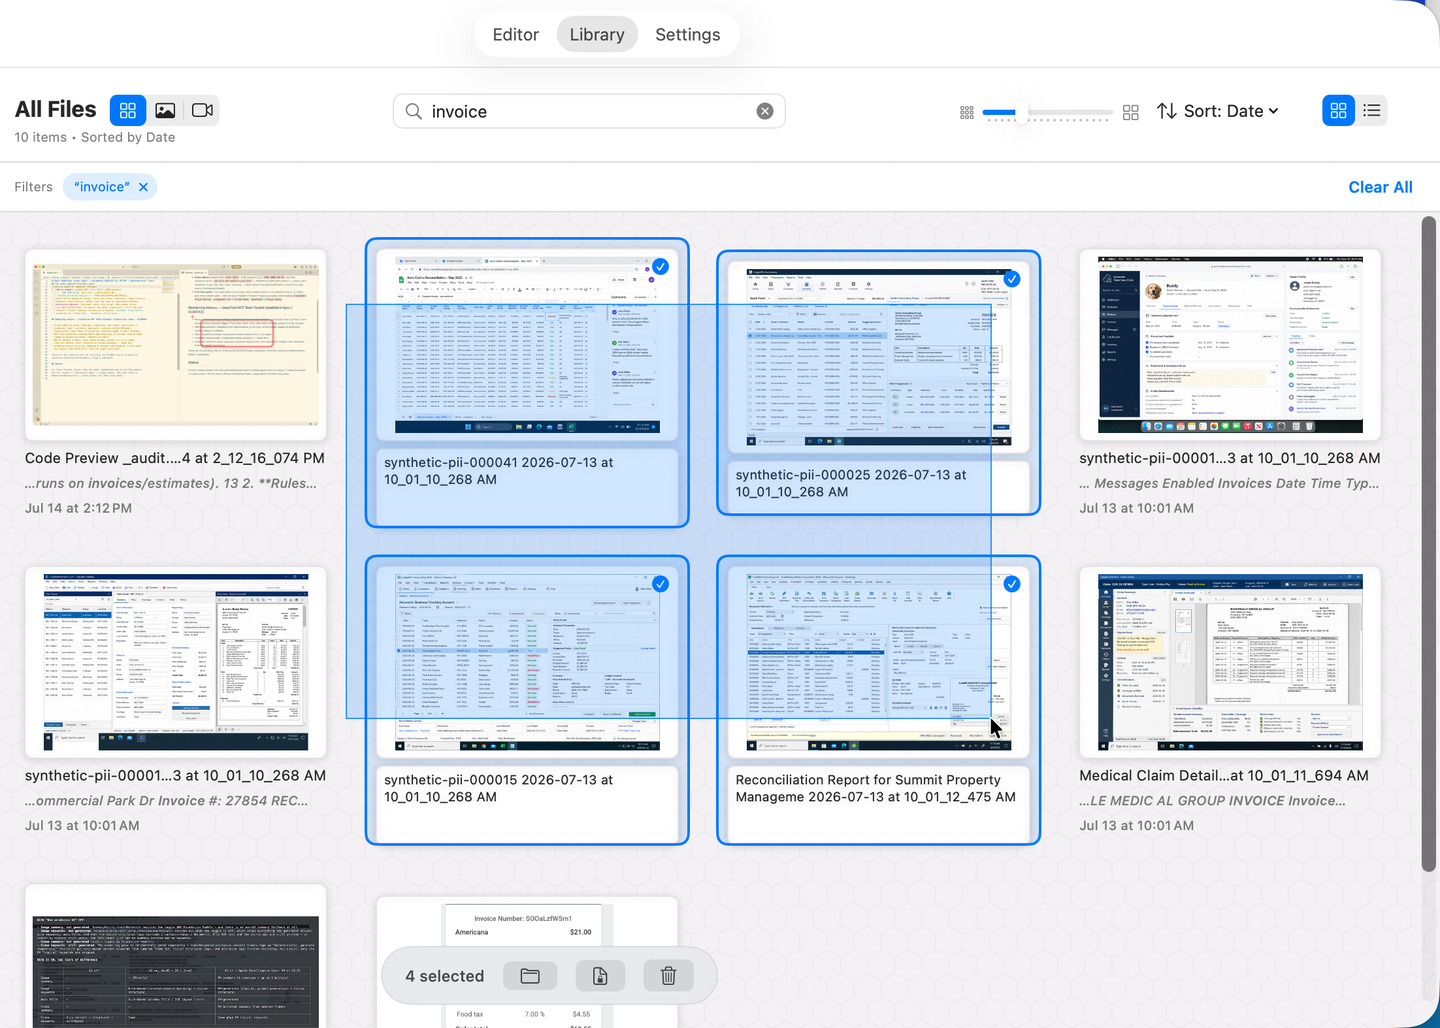 Drag from empty space to rubber-band-select multiple captures.
Once you’ve selected captures you can act on the whole set — delete, restore, duplicate, show in Finder, add to a collection, or export — from the toolbar or the right-click menu.
Titles, tags, and the Info panel
Section titled “Titles, tags, and the Info panel”Every capture is OCR’d on device, its source app recorded, and — with on-device AI — given an automatic title, summary, and Smart Keywords. You can override the title, edit the summary, and add your own tags; generated keywords stay separate from tags you create.
The Info panel shows all of it: name, dimensions, summary, Smart Keywords, tags, and the favorite star, editable in place.
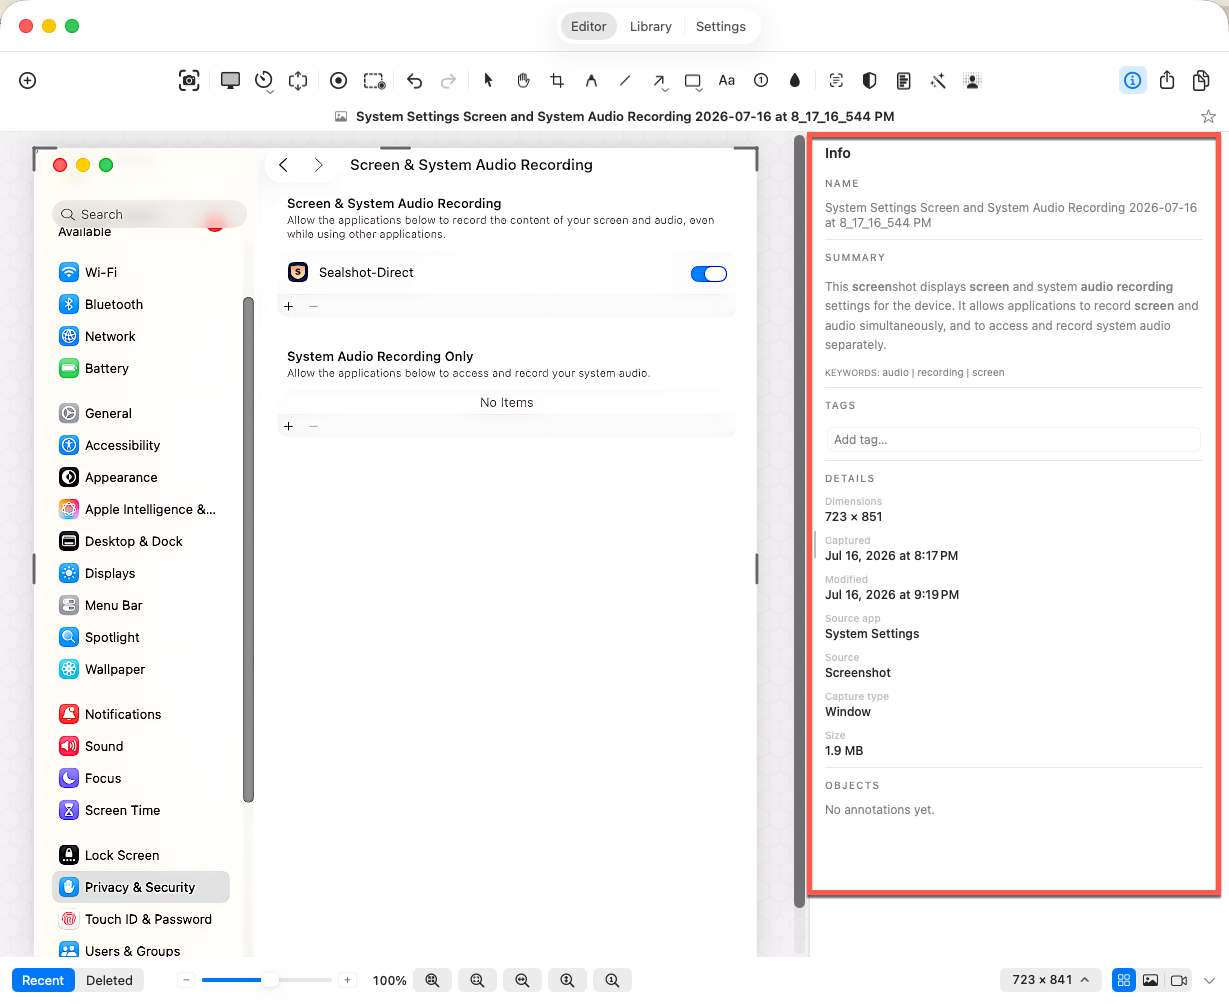 Name, summary, Smart Keywords, and your tags — all editable.
Search
Section titled “Search”Search looks at titles, tags, and the text inside your screenshots (OCR’d locally) — search for an error message, a name, or a code fragment and find the capture that contains it. On Apple Intelligence Macs, the query is quietly expanded with related terms, so “invoice” can also find “receipt”.
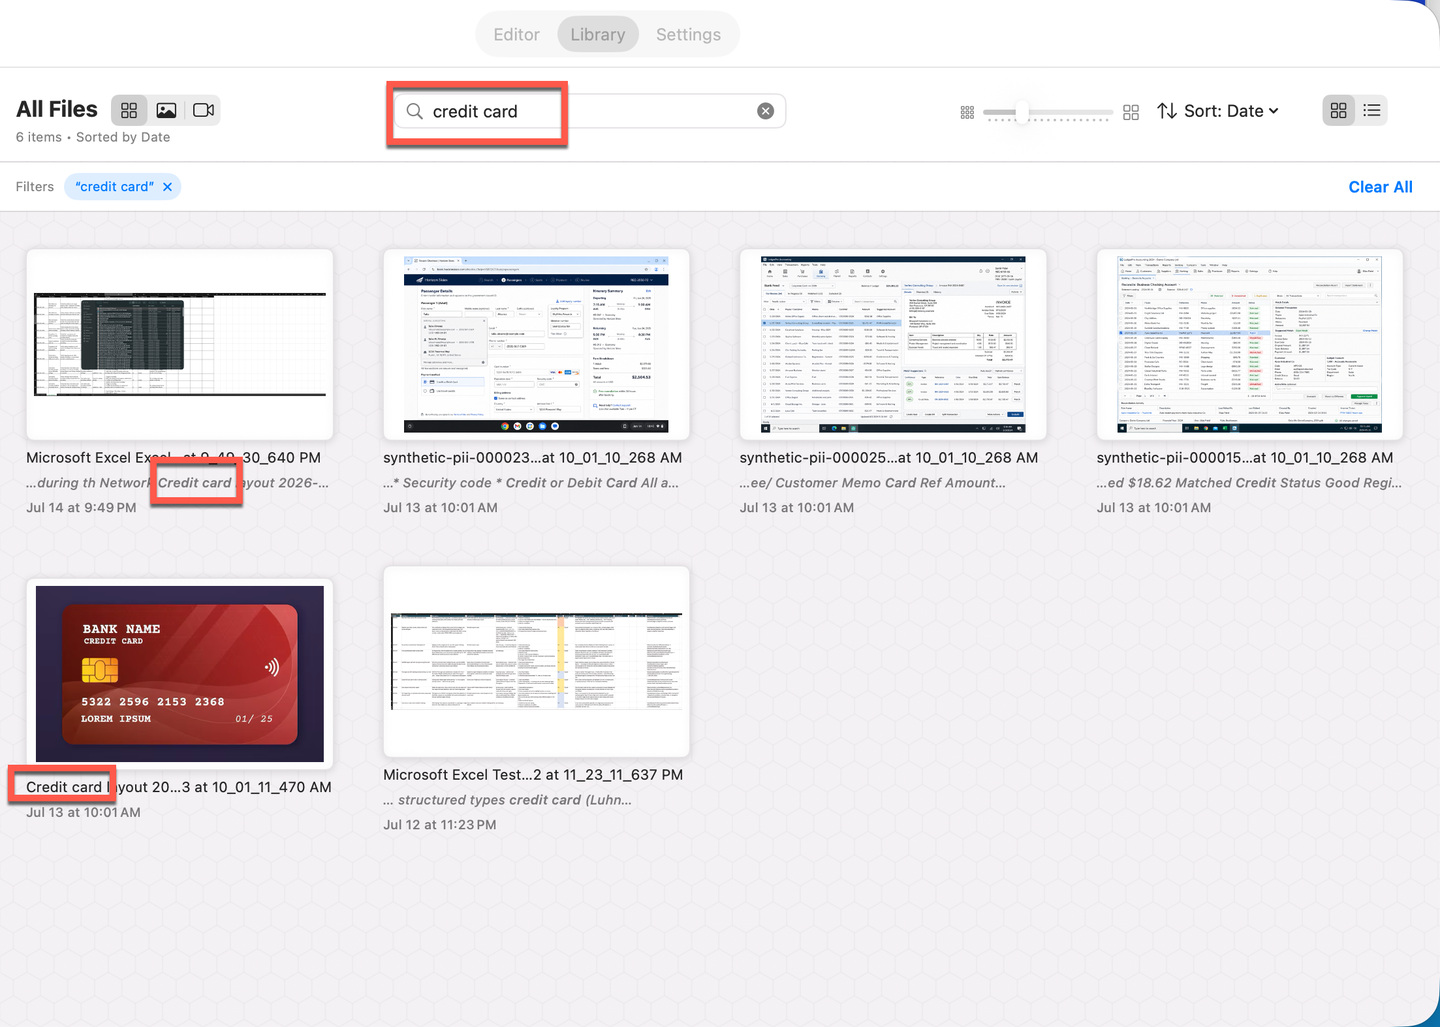 Search matches text recognized inside the images themselves.
Delete, restore, and undo
Section titled “Delete, restore, and undo”Deleting a capture moves it to the Trash rather than erasing it. From there you can Restore it or Delete Forever.
Both deleting and restoring are undoable and redoable (⌘Z / ⇧⌘Z), and the history survives switching captures and relaunching the app — so an accidental delete is easy to take back. “Delete Forever” is permanent and cannot be undone.
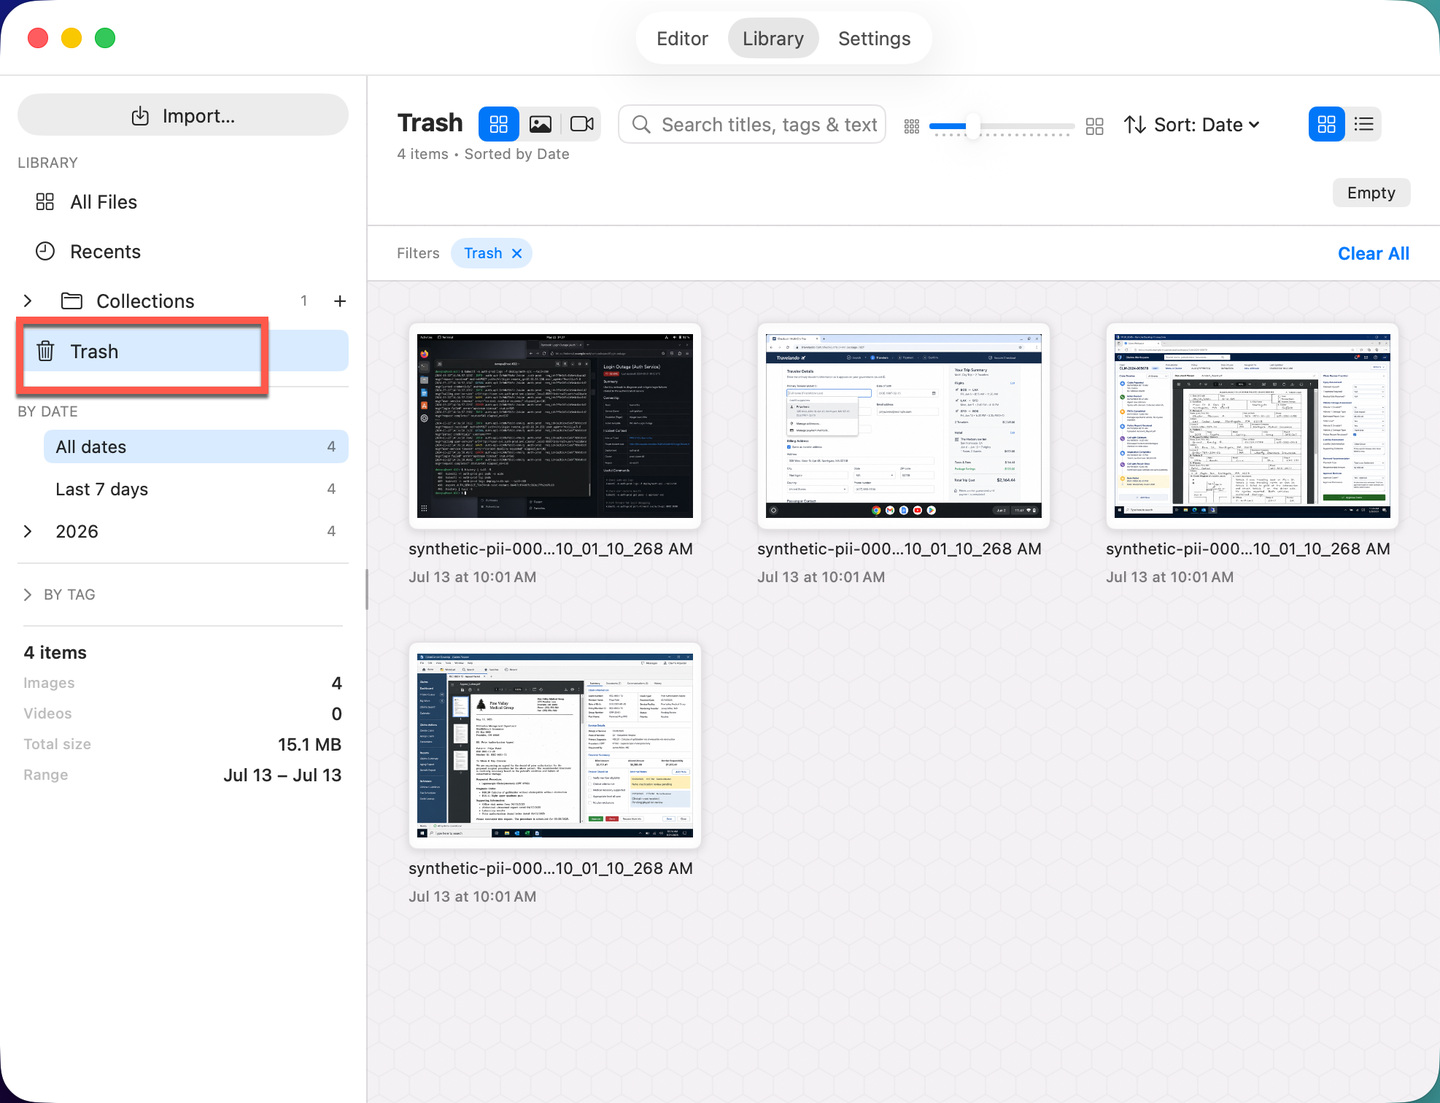 Trashed captures wait until you restore or purge them.
Trashed captures are purged automatically after a number of days you set in Settings → General → Trash (default 7), or clear them all at once with the Empty Trash button in the Trash header.