
Capture modes
Sealshot offers several ways to capture your screen. Start any of them from the menu-bar icon, or use the keyboard shortcut — each has a default you can change in Settings.
Smart Capture (area & window)
Section titled “Smart Capture (area & window)”Default: ⌘⇧C. One overlay does it all, over a frozen screen (so menus and hover states survive):
- Drag across a region to capture an area — the shot is taken the moment you release.
- ⌘-drag — or ⌘-click — when you want to adjust before capturing. The selection stays on screen with resize handles, an interior you can drag to reposition, and a size readout whose width and height you can type into for exact pixels. Return (or the ✓ button) captures; Esc (or ✕) cancels. A plain ⌘-click starts from your last capture’s size, so a run of shots can come out identically sized.
- Hover and Sealshot highlights the region under your cursor — a content pane, a dialog, a whole window — using smart boundary detection that snaps to real edges. Scroll to step outward through the regions containing the pointer, or back inward again, then click to capture exactly that. Detection works at app scale and deliberately ignores buttons, cards, toolbars, and sidebars, so in a browser you’ll usually get two stops: the page content, then the whole window. For anything smaller, drag.
Press Esc to cancel.
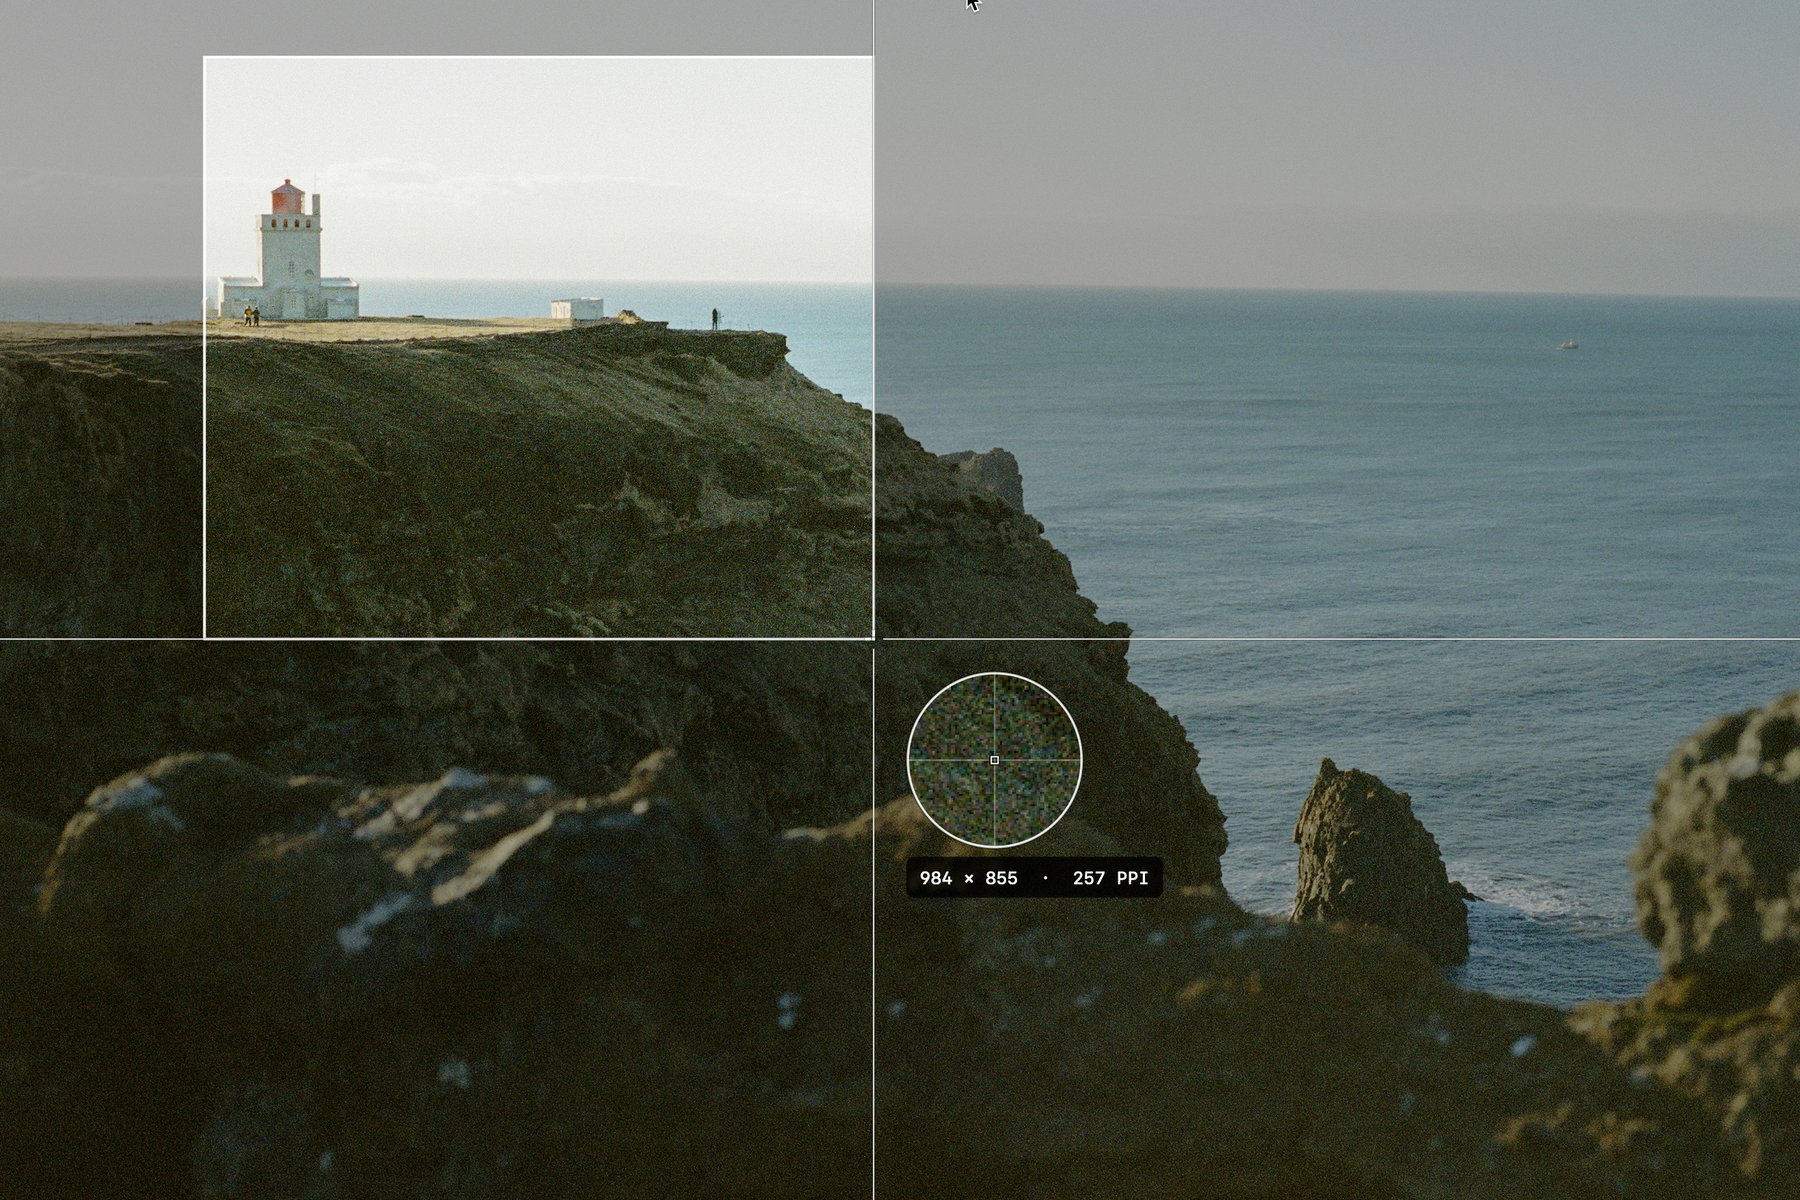 Drag to select. Hold ⌘ to keep the selection adjustable before you confirm.
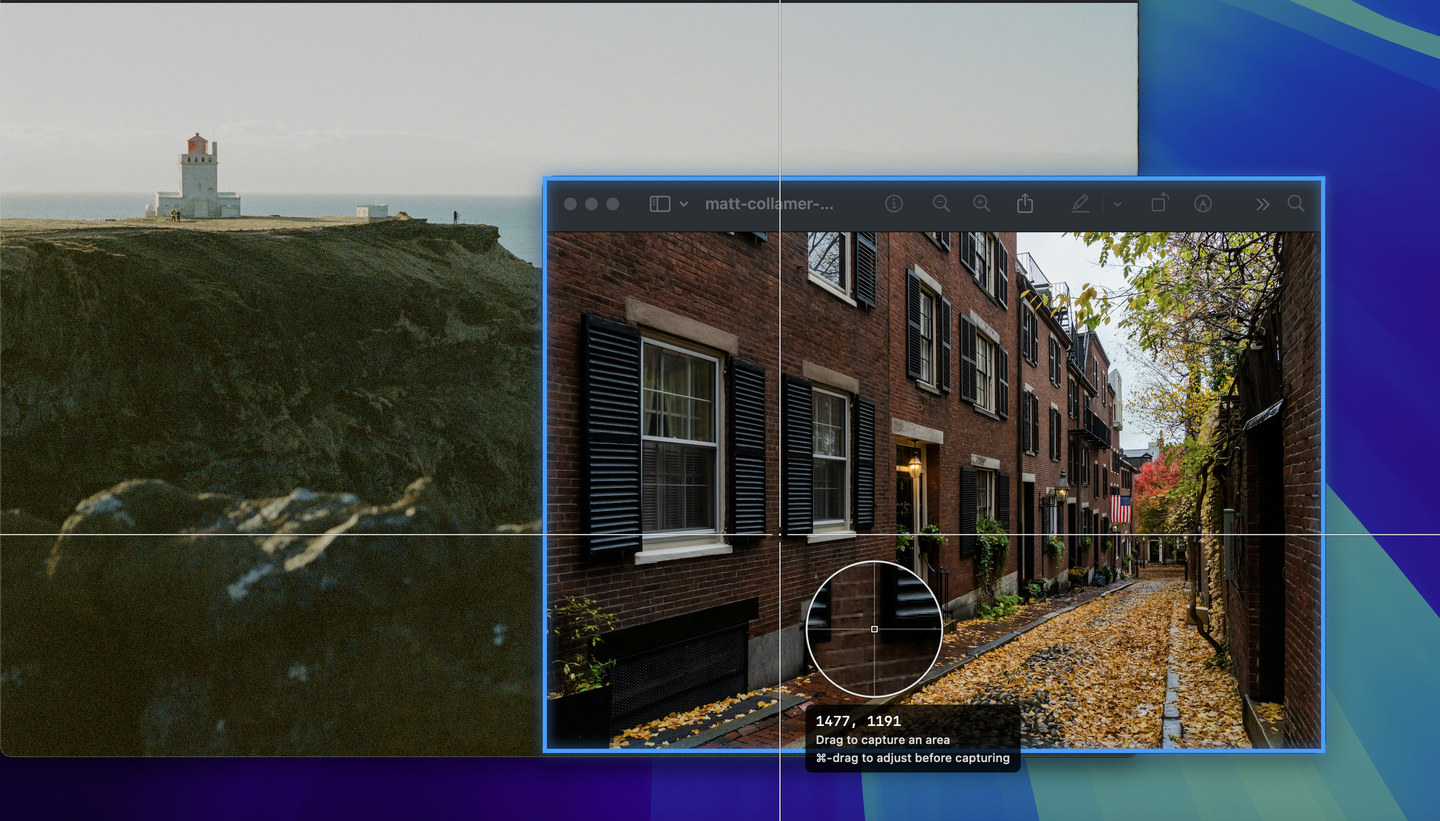 Hover to highlight an element or window; scroll to grow the selection.
Fullscreen
Section titled “Fullscreen”Default: ⌘⇧F. One display, one shot. With a single display it captures immediately; with several, a picker opens over a frozen screen — click the display you want, or ⌘-click to capture all displays stitched into one image.
Delayed
Section titled “Delayed”Default: ⌘⇧D. Need to capture something that disappears when you click? A delayed capture runs an on-screen countdown (shown on every display), then opens the unified overlay on the frozen screen. Choose the delay — 3 (default), 5, 10, or 15 seconds — from the delay selector. Press Esc during the countdown to cancel.
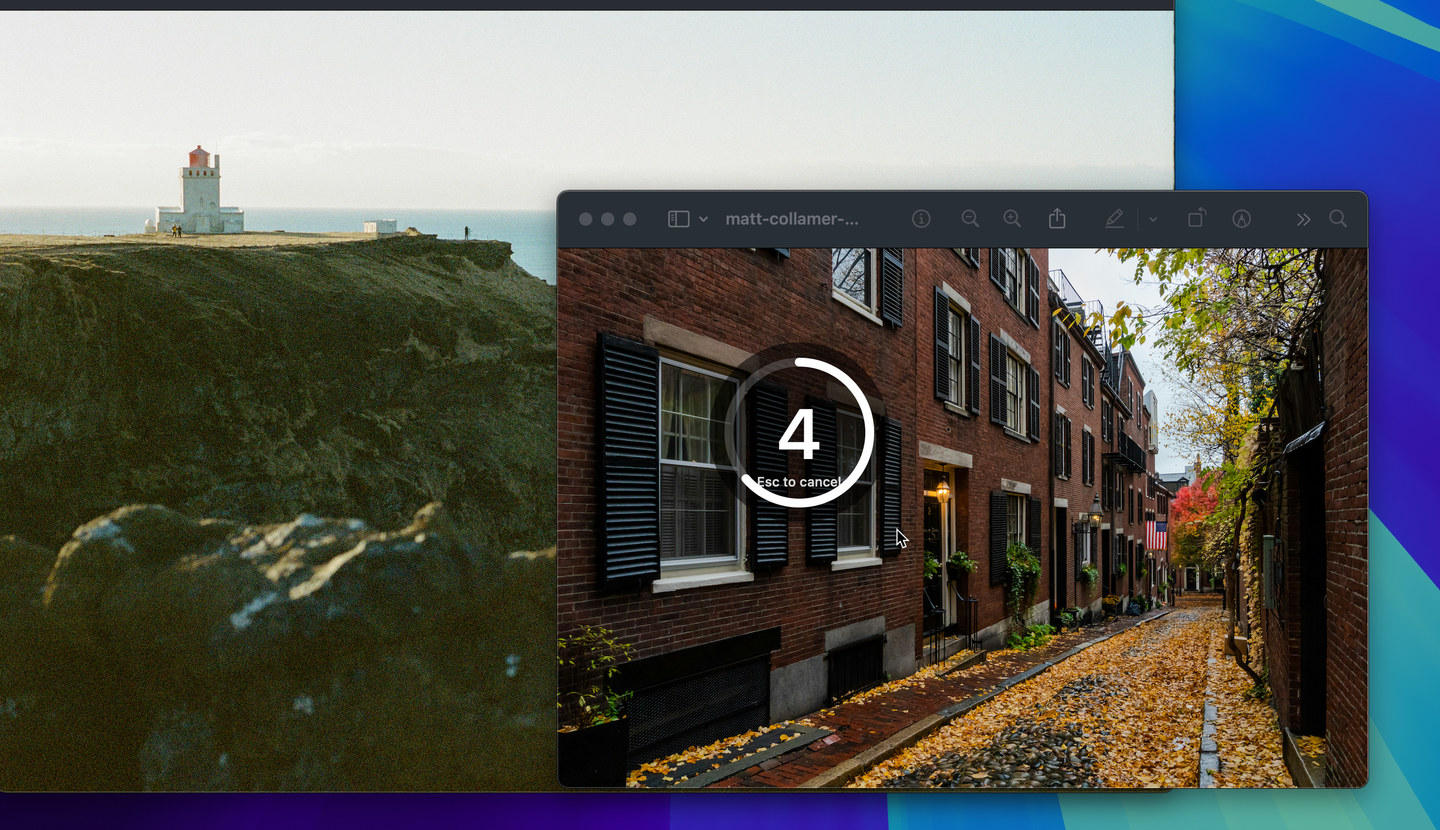 A countdown gives you time to open menus or hover states.
Scrolling capture
Section titled “Scrolling capture”Default: ⌘⇧W. Capture content taller than the screen — long pages, chat threads, documents. Drag to select the scroll viewport; Sealshot scrolls the content and stitches the frames into a single seamless image.
- Auto-scroll (needs Accessibility permission): Sealshot scrolls for you and stops at the end automatically.
- Manual: you scroll the content yourself and press Return to finish.
Press Esc at any time to cancel.
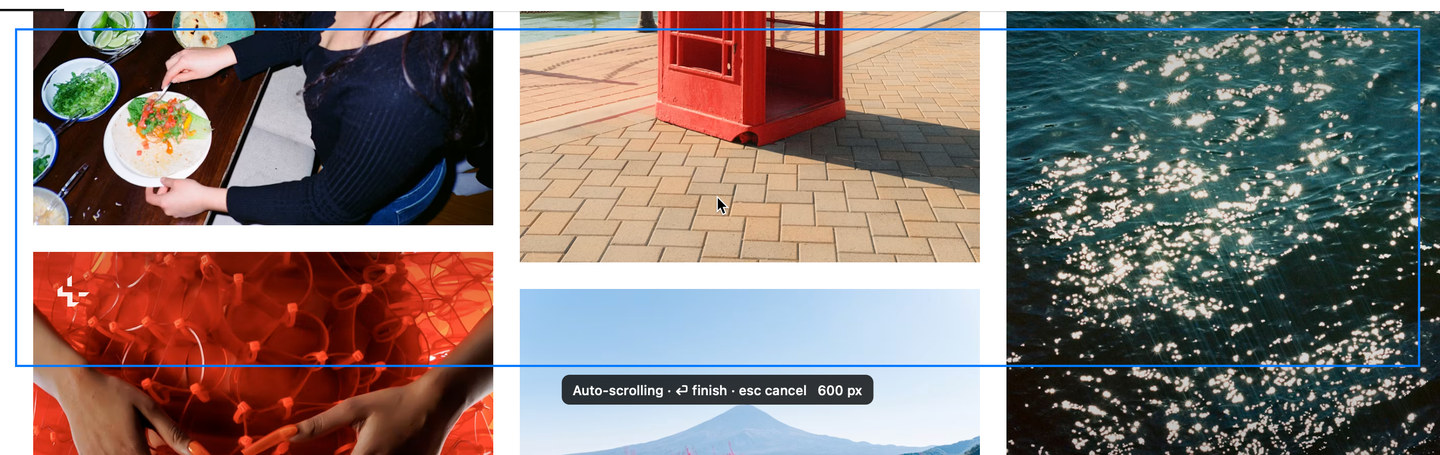 Sealshot scrolls and stitches a tall page into one image.
Live Capture
Section titled “Live Capture”Default: ⌘⇧X. Capture your whole desktop as a layered scene. Live Capture grabs every on-screen window as its own layer — plus each display’s wallpaper as the backdrop — and opens them in the editor as a stack of movable objects.
- All windows. Nothing is cut off by whatever was on top — each window is captured and sits on its own layer.
- Multi-display. On one display it captures immediately. With several, a picker opens — click a display to capture its windows, or ⌘-click to capture every display into one combined scene.
- In the editor, drag windows around or auto arrange layout, bring one forward or send it back, and delete the ones you don’t need. See Live Capture scenes.
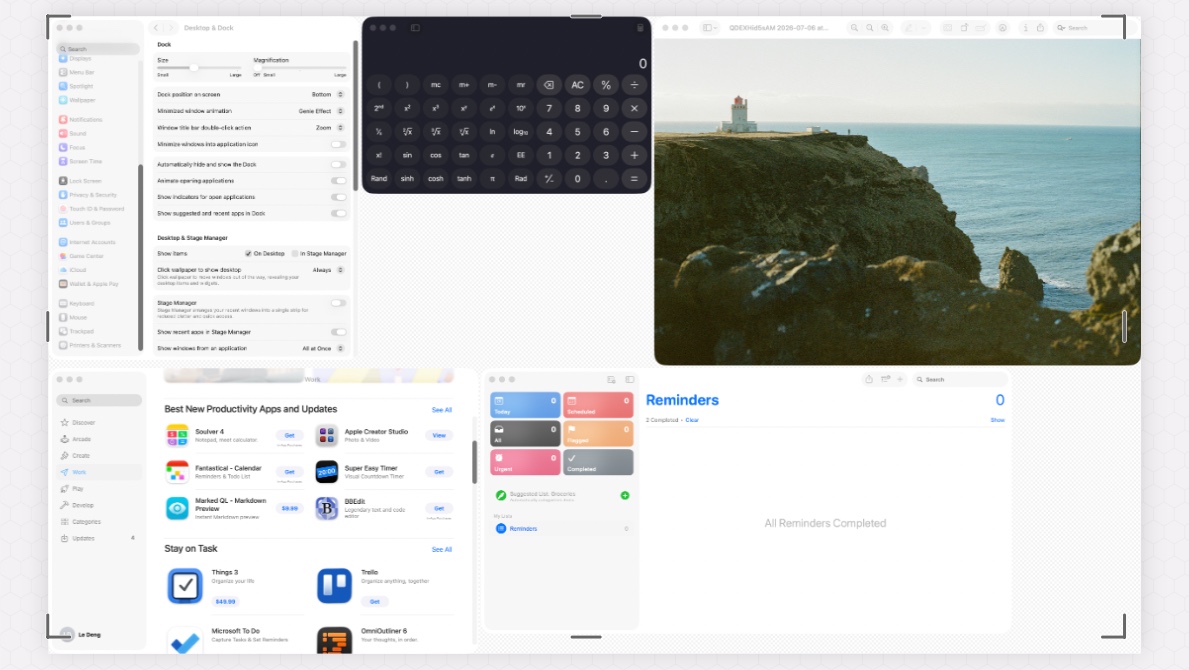 Every window becomes its own movable layer over the desktop wallpaper.
Save as…
Section titled “Save as…”Default: ⌘⇧S. Select a region and save it straight to a location you choose with a Save panel. This is a one-off export — it doesn’t add the capture to your library or touch the clipboard.
Repeat the last capture
Section titled “Repeat the last capture”Default: ⌘⇧A. Takes the same area you captured last — no overlay, no dragging, no reselecting. The outline flashes so you can see what it took.
The menu item names the size, Capture ▸ Repeat Last Capture (640 × 480), because repeat fires with no overlay and no confirmation: the menu is the only place that can tell you what is about to be grabbed. The area is remembered between launches, so a run of step-by-step screenshots stays one keystroke each.
If the screen that area lived on has gone — a monitor unplugged, a resolution changed — Sealshot asks you to drag a new area rather than guessing at one, and that becomes the area from then on.
The floating capture window
Section titled “The floating capture window”A small panel that stays on top of your other apps, so you can take one capture after another without the editor opening in front of what you are documenting. Useful on a laptop, where macOS sometimes has no room left for the Sealshot icon in the menu bar.
Open it from the button at the top right of the editor window, or from View ▸ Floating Capture Window.
What is on it
Section titled “What is on it”- The face button shows the kind of capture you used last, so repeating it is one click.
- Full screen, scrolling and record have pills of their own beside it.
- ⋯ holds the rest — Smart Capture, Save as, delayed, Live Capture and record-selection — plus Hide to Edge Automatically. While a recording is running, it holds Pause and Stop instead.
- Your three newest captures appear as thumbnails with a count, videos badged with a play symbol. Capture from anywhere — the panel, a shortcut, the menu bar — and the newest appears; delete one, even in the Finder, and its thumbnail goes. The panel and the editor’s strip always agree.
- Drag a thumbnail straight out to the Finder, Mail, or any app, exactly as you can from the strip.
- The pin keeps the panel above other windows, which is how it starts. Unpin it and other windows cover it — useful when it is in the way but you are not finished with it. An unpinned panel comes back when the editor does.
- ⤢ brings the editor back, on whatever tab you left it.
- The close button dismisses the panel, and it stays closed next time you open Sealshot.
Where it sits
Section titled “Where it sits”Drag it anywhere; guide lines show the edges it will snap to, and letting go near a corner parks it there. It dims while you are not using it, turns solid as soon as you point at it, remembers its place on each of your displays, and follows you to whichever screen your pointer is on.
Tuck it away by dragging it past any screen edge: it collapses to a slim line hugging that edge with an arrow pointing back into the screen. Click the arrow — or rest your pointer on the line for a moment — and it opens again where it sits, rather than jumping to a corner. Pull the line right off the edge to restore the full panel. A tucked-away panel comes back tucked away next time, same edge, same spot.
Turn on Hide to Edge Automatically in the ⋯ menu and it tucks itself away as soon as your pointer leaves it, or when you click elsewhere, so it does not linger after a cancelled capture. Off unless you turn it on.
If you lose it — behind the Dock, under a notch, or on a display you have unplugged — View ▸ Reset Floating Window Position undocks it, opens it if it was closed, and puts it in the middle of the screen you are using. It is in the menu bar rather than the panel’s own menu precisely because the situation it exists for is one where you cannot reach the panel.
While Sealshot is locked, the panel stays out of sight.
Recording
Section titled “Recording”Sealshot records video too — the screen, a window, or a region, with audio. See Screen recording.
Where captures go
Section titled “Where captures go”What happens to a finished capture — copy to the Clipboard, save to a File, or Both — is set in Settings → Capture → Capture Defaults, along with the filename format. The default is Both. Saved files land in the folder chosen under Settings → General → Storage.
Whether a capture joins your library is a separate choice: Settings → Capture → Add captures to Library is on by default, and turning it off keeps the editor and clipboard behaviour while leaving the library untouched — see Scratch.
Captures that produce a file open in the editor, ready to annotate. A Clipboard-only capture skips the editor — it goes straight to your clipboard so you can paste and move on.
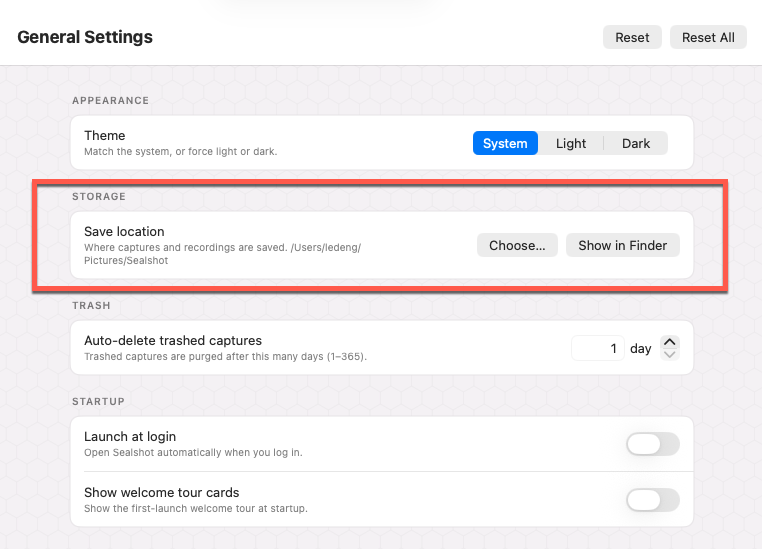 The save location in Settings → General; the Clipboard/File/Both default
lives in Settings → Capture.
The save location in Settings → General; the Clipboard/File/Both default
lives in Settings → Capture.